Tuesday, November 6, 2018

November 6th, 2018. Project: Make A Webtoon

So I decided to post the first chapter with the 4 already created pages, so I'm starting page 1 of Chapter 2.

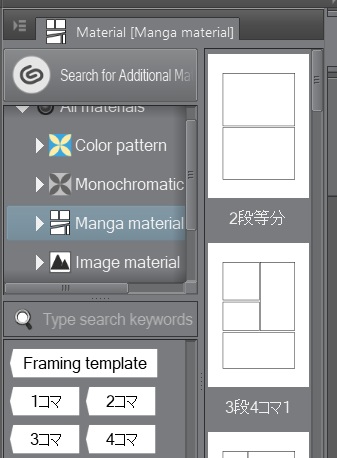
I didn't blog about it last time, but I'm doing the same thing now as I did with the last chapter so now's a good time to write about it. For the images in the comic I'm using Clip Studio Paint's specialized comic panel creation tools. Using these I can either create my own custom panels, which also act as masking layers to anything outside the selected space. Or use pre-made comic pages from the material area. For my webtoon I decided to create my own image panels because this was more suited to the style of webtoons. I experimented with both though.
The pre-made ones were simple to use, you just select the one you want and then drag it onto the project. then you select the image folder you want to use and draw on layers inside it. since it works as a layer mask anything drawn out side of the panel lines won't appear.

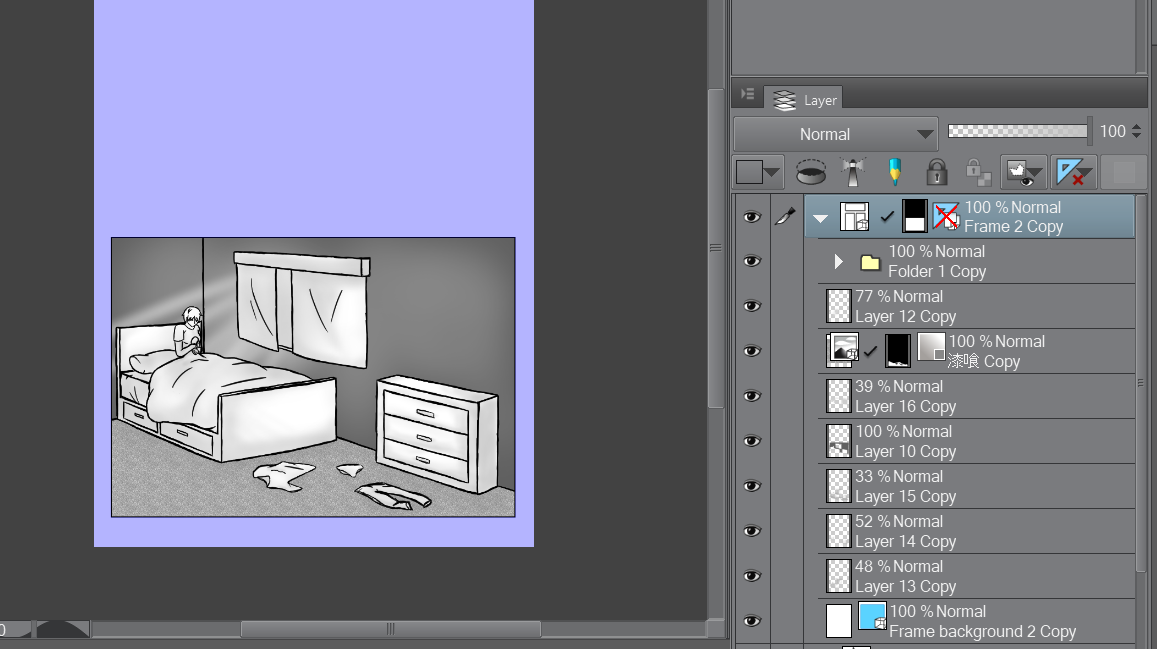
With the custom image panels you can basically create panels of any shape that are automatically layer masks. then using other tools you can edit them further. So far I've just used it to create rectangular panels.

For page 1 I wanted to show a distance view of the character before I plan to zoom in on them in page 2. Drawing the room was a little more difficult than I expected, with the perspective as well as the room's coloring and lighting being the hardest parts. I had to create 3 sketches before doing the final line art. I used a downloaded texture for the ground, giving it a carpet appearance. To use the texture I just used the selection tool to specify the area I wanted effected. Then just dragged and dropped the texture from the material palette. Finally I adjusted the color settings and it was finished.

For the rooms lighting I just used the air brush tool again then messed with some of the layers opacity.

Tomorrow I'll work on page 2.


Monday, November 5, 2018

November 5th, 2018. Project: Make A Webtoon

So I started the third page and realized that the reference image for the main cast of characters was drawn in my grade eight year. They look terrible, so I had to redraw them, that took some time. Too much time actually so I settled for redrawing the first 2 who would be appearing in the comic. The first one was easy but on the second one I got caught on drawing the hand, hands are the worst to draw. I did it though, just a sketch of the characters.

Once I finished that I started on the third page. Firstly I did a rough sketch. Then I did another sketch, I did a fine line version next. After that I decided to try something new, for the first bit of the story I want everything to be in black and white. I've never done this before, I had a couple of options to fill the empty space. I ended up deciding to use tone layers to do the "colour" for the first chapter. This works by right clicking the layers, creating a tone layer, and adjusting the settings. I also used a selection layer to specify the tone location. Up close it just looks like a bunch of black blocks, at a distance it looks like a grey.

I also used the air brush tool to add depth and eye bags.

I started to upload the pages to Webtoon in a project draft, when I previewed it though I realized the start was a bit too sudden. So I added another page at the beginning, just black with the chapter title.

That's all I have time for today, tomorrow I'll add another image to the fourth page.

Friday, November 2, 2018

November 2nd, 2018. Project: Make A Webtoon

So I'll be working on the background for the page and the pages drawing.

Starting with the background, since this first chapter is in a nightmare I want it to have a creepy feel to it so I'll be trying a new tool I downloaded. I downloaded it through Clip Studio's asset store, to download stuff you need to open the separate program that comes with Clip Studio Paint, Clip Studio. Once open you just click on the asset store button, then the asset you want, and click download. It's super simple, I tend to find way too many cool assets using this. For brushes you go to the materials panel in Clip Studio Paint and drag the material to you brush panel then it's ready for use. I'm using a brush that does a gradient thickness crosshatch design.

I think for now since it's the beginning of the story I don't want the details of what happened to the main characters family to be obvious. So for the dream part it will just be text for now.

With that said I finished the first 2 pages so I'll be drawing page 3 next time.

Thursday, November 1, 2018

November 1st, 2018. Project: Create A Webtoon

So this month I'm creating a comic and I'll be posting it to Webtoon. Webtoon is a comic uploading site, it's completely free to use. When Posting a comic I'll be using the recommended sizing of 160px by 151px per page with a max of 499kb of information.

I've never actually created a comic before so I have no clue what I'll be doing till I do it. So I'll be starting page one today.

To start with I created a rough sketch of the first panel. I want this first chapter to be the main character's nightmare, I don't want the readers to know everything about them though so I'll be leaving key things out. I'm trying to give it a fragmented feeling, to increase curiosity.

For one of the parts I need a more frightening text so I'm going to try downloading a new font to Clip Studio Paint.

Okay made a discovery, though I did learn how to find and download new assets though Clip Studio Paint's asset menu, they didn't have any fonts. So I went to the internet and found out that (site link here) Clip Studio Paint takes fonts from the available fonts in windows. So I downloaded the font I wanted (font site here)...

... and tranfered it to the windows fonts folder with help from my teacher. I restarted Clip Studio Paint and when I reopened it it was there.

So I used that to write the text.

That's where I'll stop today, Tomorrow I'll add the page background and start the drawing.

Wednesday, October 31, 2018

October 31st, 2018. Program: Clip Studio Paint. FINAL!!!!

So this month has been interesting, I started off by finishing an already started character design. I Tried out a new style of shading using gradients to add depth. I'd never tried this before and it worked really well.

My next project in the month was a simple 3D model jumping animation. I created the key frames easily. However, when I put the frames in the animation folder I rasterized them, so when I went to create the sub frames I had to recreate the model pose then use that to get the sub frame. This took way too long, so I had to remake the animation, this time keeping a copy of the 3D model. It worked a lot better.

My next project was once again a 3D model animation, this time I did a character jumping and doing a spin kick. For this animation I decided that doing the key and sub frames seperately took way too long so I just did them together. During this animation I also discovered that instead of using the object position and camera perspective controls to keep the model position synced. I could instead use them to follow the models motion. Getting the timing of this animation was the most difficult part. The kick couldn't be too fast or too slow, and the run had to be smooth, I had to edit the timeline 6 times before it was good.


After the 3D animations I decided to do a 2D animation, based on the song Gravity by Defences. This project took the rest of my month with multiple posts being taken up by each process of the animation. These being the story board, rough sketch (for this part I used some 3D models to define some of the action frames), the good sketch, fine lining, coloring, and finally the shadows and highlights.
The story boarding was difficult due to the songs timing needing to be constantly synced up with the animation.
The rough sketch was simpler but I had trouble getting the action scenes right so I tried using 3D models to get the poses defined. This was a great success but it was difficult in it's own ways.
In the good sketch I defined the character expressions more, made things a bit smoother, added more in between frames, and got rid of the 3D models.
The fine line version I...

In between a couple of the 2D animation posts I did a post about an online webinar I had watched on the benefits of Clip Studio Paint. A lot of useful stuff was shown, such as how to use vector layers.

I got a lot of stuff done this month as well as learned a ton so I'm pretty happy, Next month I'll be trying to create my first web comic so that should be interesting.